The core product pricing system is great for flat / percentage discounts to products on the site and for alternate price lists. Special offers, such as “Buy one get one free”, are not supported in Drupal Commerce core. They depend on the creation and management of alternate line items (e.g. one line item for the paid product and another for the free product).
Drupal Commerce's sell price pre-calculation mechanism limits what types of data you can access in the conditions and actions of product pricing rules. Very few sites actually make use of this functionality, but the gist of it is your conditions cannot use data specific to the product (i.e. product type or SKU) and your actions can only use data specific to the product (i.e. not the day of the week or user roles).
Even with those limitations, it is still possible to create quite complex pricing scenarios. One Drupal Commerce site currently uses approximately 1500+ Rules!
Note about Coupons. Using Drupal Commerce Core, it is very possible to allow users to add coupons via line item (when someone clicks an add to cart link) or via Checkout. To do the checkout method, you can follow the same principles as outlined in our "Simple Coupon" exercise, however you will need to add the field to your Order type via code and expose it on the checkout pane using Commerce Fieldgroup Panes.
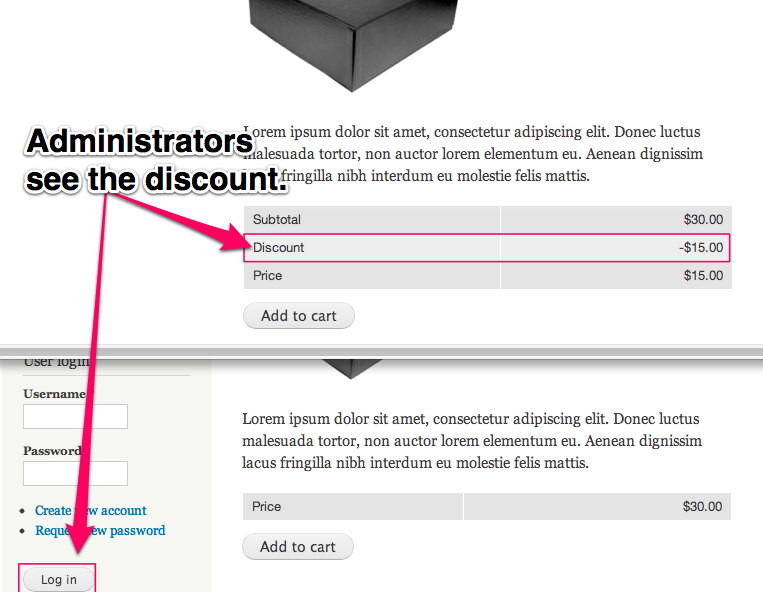
In the Price Calculations article, we went over how to create a conditional discount for a user role.
Add a coupon code textfield to the product line item type. Create a Rule that looks for this value and applies a discount based on the code entered.
Store Configuration
To start with, we will navigate to the Store Configuration Screen and click "Line Item Types." In order to add a discount to our line items, we need to add a field.
Add Field
We're adding a text field in the manage fields screen for our custom line type. If you want to be able to create unique line item types, there is a great contributed module for that called: Commerce Customizable Products.
Field Configuration
This is the screen you will see after click "Continue" when you've "Added" a field. Make sure you configure the "Add to Cart" settings correctly, or you will not be able to edit this field before adding the product to cart.
Any additional field that you want to be configurable before clicking Add to Cart needs to be enabled here.
The idea is that the customer would add a coupon before checkout.
Edit View
Go ahead and add a product to your cart, then click View Cart and then click edit view as shown here.
Add Field
In order to view our coupon on the shopping cart, we will add the field. Same could be done with the checkout views and/or Shopping Cart block.
Configure Field
When configuring the price, make sure to format amount with components. This will help us see the calculation without further code.
New Cart
This is a screenshot of the new /cart page showing the price with components and empty coupon field.
Product Price Rule
This is a screenshot of the new /cart page showing the price with components and empty coupon field.
Add Price Rule
Make up a pricing rule name on this form. Mostly showing this screen so people don't get too confused with all of this jumping around.
Editing Rule
This is where we will be spending the next few minutes. The plan is to add two conditions, separated by an "And" and finally add an action that applies the discount.
Add Condition
First, add a condition for our new field called "Entity has field." This is a critical step to making that field available in our next condition. Do not skip this step.
Configure Condition
For this condition, we need the commerce-line-item data selector and our new field.
Add And Condition
Next, add and to require our final data comparison condition. This is required to force both conditions.
Configure Condition
This is part of the magic. I'm setting my coupon code to be an arbitrary four digit number, but you could set it to just about anything that a person could type into their field. You could even potentially be a bit more creative here. This could be a role that a user has or perhaps a previously visited page.
Add Action
Add discount action. For this action, we chose the "Multiply the unit price by some amount" underneath the "Commerce Line Item." Next screen is configuration settings.
Configure Action
Be sure to set multiply value and change component type to discount. There is a lot to learn about Price Component Types if you are interested.